Shark Euro-Pro X Sewing Machine Manual: A Comprehensive Guide
This manual offers detailed instructions for Shark Euro-Pro X models like 7133, 372/373/374/377, 9101, 762XH, and 385X, ensuring safe and efficient operation.
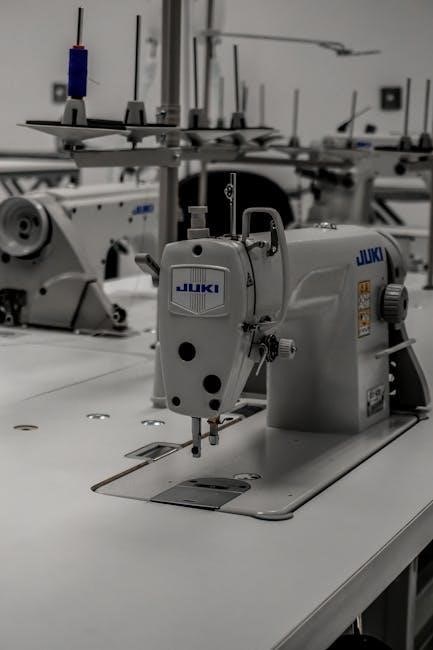
The Shark Euro-Pro X sewing machine represents a blend of affordability and functionality, popular amongst both beginner and experienced sewers. Numerous models fall under this umbrella, including the 7133, 372/373/374/377 series, 9101, 762XH, and 385X, often sharing similar core mechanics.
Finding a dedicated, original manual can sometimes be challenging, but resources like the Internet Archive offer downloadable PDFs for various models. These manuals are crucial for understanding your machine’s specific features and ensuring safe operation.
This guide aims to consolidate information from available resources, providing a comprehensive overview of setup, operation, maintenance, and troubleshooting for the Shark Euro-Pro X line. Always prioritize safety and refer to your specific model’s instructions when available.
Understanding Model Numbers: 7133, 372/373/374/377, 9101, 762XH, 385X
Shark Euro-Pro X machines utilize a variety of model numbers, often causing confusion for users seeking specific instructions. While core functionality remains consistent across many models – like the 372/373/374/377 series – subtle differences exist. The 7133 and 9101 represent distinct variations within the line, each with potentially unique features.
The 762XH and 385X models also possess individual characteristics. Importantly, many manuals cover multiple model numbers, acknowledging the similarities. When searching for documentation, it’s beneficial to check manuals listing several numbers to find relevant guidance.
Understanding this overlap simplifies troubleshooting and maintenance, as solutions often apply across the Euro-Pro X family.
Safety Precautions
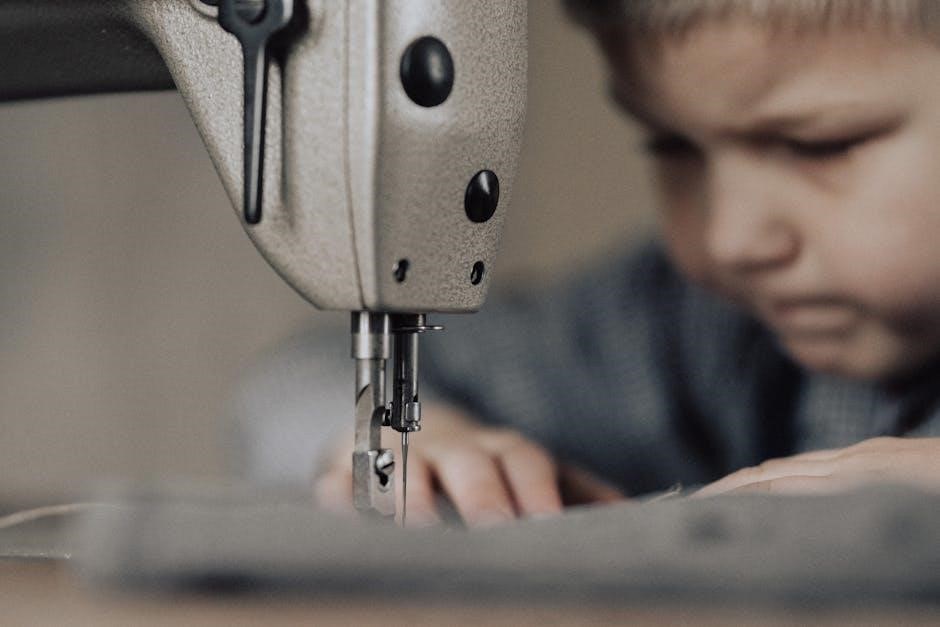
Prioritize safety when operating your Shark Euro-Pro X sewing machine. Always read all instructions before use to ensure proper operation and prevent accidents. Never operate the machine if damaged, and disconnect from power during maintenance or threading. Keep fingers away from moving parts, like the needle and presser foot, to avoid injury.
Electrical safety is crucial; use a grounded outlet and avoid operating the machine with a damaged cord. Supervise children closely when the machine is in use. Never attempt to repair the machine yourself – seek qualified service. Following these precautions guarantees a safe and enjoyable sewing experience.
General Safety Rules
Always disconnect the power supply before changing needles, threading, or performing any maintenance on your Shark Euro-Pro X. Never pull fabric while sewing; let the machine feed it naturally. Keep the machine clean and free from dust and lint buildup to prevent malfunctions and fire hazards.
Avoid using the machine in damp or wet locations. Do not operate the machine if the cord or plug is damaged. Use only genuine Shark accessories and attachments. Never leave the machine unattended while it is running. Proper care and adherence to these rules will ensure safe and reliable operation.
Electrical Safety Guidelines
Ensure the voltage of your power supply matches the machine’s requirements. Never operate the Shark Euro-Pro X with a damaged power cord or plug; replace immediately. Avoid using extension cords if possible, and if necessary, use a heavy-duty cord rated for the machine’s amperage.
Do not immerse the machine, cord, or plug in water or other liquids. Always unplug the machine before cleaning or performing maintenance. Protect the power cord from being stepped on or pinched. If electrical issues arise, discontinue use and consult a qualified technician for repairs – do not attempt self-repair.
Machine Components & Features
Explore the Shark Euro-Pro X’s key parts, including the needle, presser foot, bobbin case, and tension dials, to understand its functionality and capabilities.
Identifying Key Parts
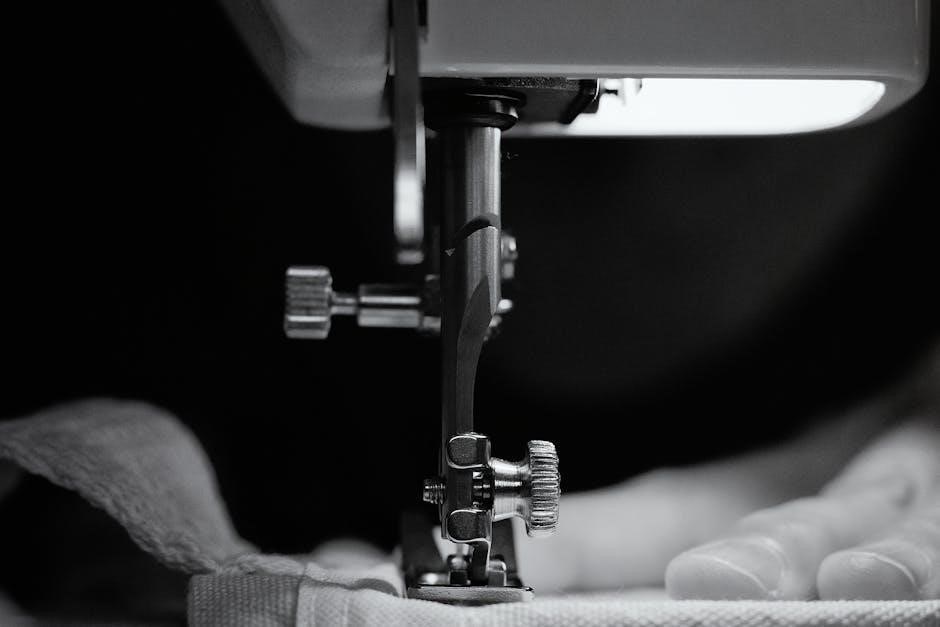
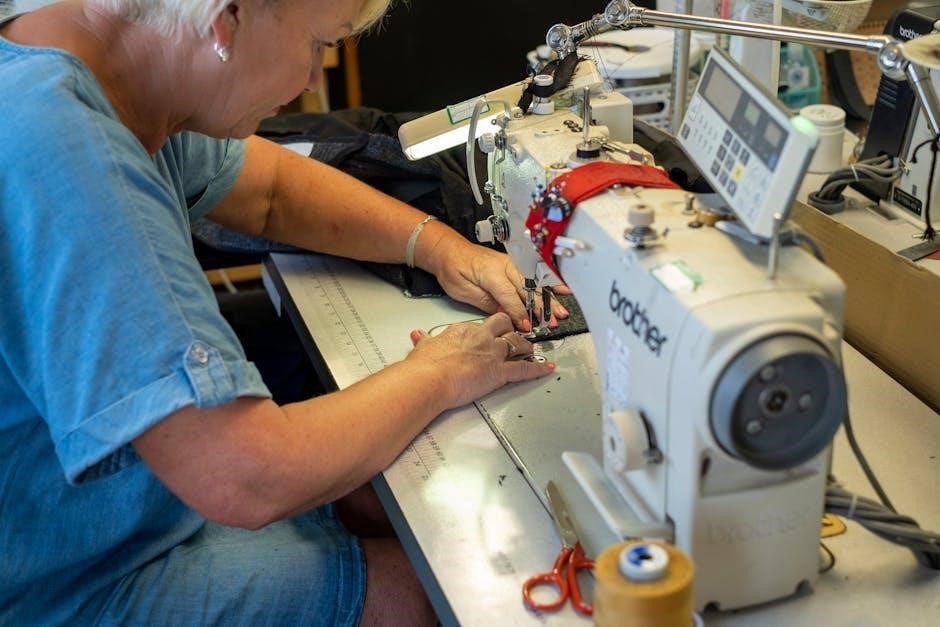
Understanding the Shark Euro-Pro X’s components is crucial for operation and maintenance. Key parts include the power switch, handwheel for manual control, spool pin for thread placement, and bobbin winder. The needle clamp secures the needle, while the presser foot applies pressure during stitching.
Locate the tension discs, responsible for thread tension, and the stitch length/width dials for adjusting stitch parameters. The bobbin case holds the lower thread, and the feed dogs advance the fabric. Familiarize yourself with the reverse lever for backstitching and the thread take-up lever, which controls thread flow. Knowing these parts ensures efficient sewing and troubleshooting.
Needle and Thread Selection
Choosing the correct needle and thread is vital for optimal sewing performance with your Shark Euro-Pro X. Universal needles suit most fabrics, while ballpoint needles are best for knits. Denim needles handle heavier materials. Needle size corresponds to fabric weight; smaller for delicate fabrics, larger for thicker ones.
Thread weight also matters. Lighter threads work well with finer fabrics, heavier threads with durable materials. Polyester thread is versatile, while cotton thread is ideal for natural fibers. Always match thread color to fabric. Incorrect combinations can cause skipped stitches or thread breakage, impacting project quality.
Tension Control Explained
Proper tension is crucial for balanced stitches on your Shark Euro-Pro X. The tension dial adjusts the pull on the upper thread. Too loose, and loops form on the underside; too tight, and the thread may break or pucker the fabric.
Start with the default setting (usually ‘4’). Test sew on scrap fabric. If loops appear underneath, increase the tension (higher number). If the fabric puckers or the thread breaks, decrease the tension (lower number). Adjust in small increments. Consistent tension ensures even, professional-looking seams.
Stitch Selection Guide
Your Shark Euro-Pro X offers a variety of stitches for diverse projects. The stitch selection dial allows you to choose the desired stitch pattern. Straight stitch is ideal for seams and general sewing. Zigzag stitch is perfect for finishing raw edges, creating decorative effects, and sewing stretch fabrics.
Buttonhole stitch automates buttonhole creation – consult your manual for specific foot and setting instructions. Experiment with stitch length and width settings to achieve the desired look. Refer to the stitch diagrams in your manual for visual guidance on each stitch’s application.
Straight Stitch
The straight stitch is the most fundamental stitch, essential for constructing garments and various sewing projects. Select the straight stitch option on your Shark Euro-Pro X machine. Adjust the stitch length according to your fabric weight; shorter lengths for delicate fabrics and longer lengths for heavier materials.
Ensure consistent seam allowance by utilizing the edge guide on your presser foot or the markings on the needle plate. Practice on scrap fabric to refine your technique and achieve even, professional-looking seams. This stitch is also suitable for topstitching and basting.
Zigzag Stitch
The zigzag stitch offers versatility beyond a standard straight stitch, ideal for finishing raw edges to prevent fraying and creating decorative elements. On your Shark Euro-Pro X, select the zigzag stitch setting and adjust both the stitch width and length. A narrower width is suitable for edge finishing, while a wider width creates bolder designs.
Experiment with different width and length combinations on scrap fabric to understand their effects. This stitch is also useful for sewing stretch fabrics, allowing the seam to expand with the material. Utilize it for appliqué and attaching elastic effectively.
Buttonhole Stitch
The buttonhole stitch on your Shark Euro-Pro X automates creating perfectly sized buttonholes. First, attach the buttonhole foot. Select the buttonhole stitch setting, and measure your button’s thickness. Adjust the machine accordingly using the designated controls – consult your manual for specifics on your model.
Place the button under the presser foot and lower it. The machine will stitch around the button, creating a clean, reinforced opening. Carefully cut open the buttonhole after stitching, avoiding damage to the fabric. Practice on scrap fabric to master the process and ensure consistent results.
Setting Up Your Machine
Proper setup involves powering on, winding the bobbin, and correctly threading both upper and lower sections, crucial for optimal Shark Euro-Pro X performance.
Powering On and Initial Setup
Before first use, ensure the power switch is in the ‘off’ position. Connect the Shark Euro-Pro X to a grounded electrical outlet, verifying voltage compatibility. Begin by inserting the power cord firmly into the machine’s designated port.
Carefully review all safety precautions outlined in the manual before operation. Initially, test the machine with scrap fabric to confirm correct threading and tension. Familiarize yourself with the location of all controls – stitch selection, stitch length, and width adjustments.
Ensure the presser foot is down during operation; this engages the tension system. A proper initial setup is vital for smooth and safe sewing, preventing potential issues later on.
Winding the Bobbin
Begin by placing the spool of thread onto the spool pin, securing it with the spool cap. Guide the thread through the thread guide, then onto the bobbin winder tension disc. Next, insert the empty bobbin onto the bobbin winder spindle, ensuring it clicks into place.
Push the bobbin winder to the right to engage it. Hold the thread tail firmly as you start the machine slowly, allowing the bobbin to wind evenly. Once full, the bobbin winder will automatically stop.
Cut the thread and remove the bobbin. Proper winding ensures consistent stitch quality and prevents thread bunching during sewing.
Threading the Machine
Start by raising the presser foot; this opens the tension discs. Guide the thread from the spool, through the first thread guide, and then down into the tension discs. Ensure the thread is securely seated between the discs for proper tension control.
Continue threading through the take-up lever, then down and around the thread guide near the needle. Finally, thread the needle from front to back. For lower threading, insert the bobbin into the bobbin case, guiding the thread through the tension spring.
Draw up the bobbin thread by holding the upper thread and turning the handwheel.
Upper Threading
Begin with the machine turned off and the presser foot raised. Place the spool of thread onto the spool pin. Guide the thread through the first thread guide, ensuring it’s firmly seated. Next, lead the thread down into the tension discs – a crucial step for consistent stitch quality.
Continue threading upwards, through the take-up lever, and then down to the thread guide positioned closest to the needle. Finally, thread the needle from front to back, using the needle threader if needed. Proper threading is vital for smooth operation.
Lower Threading (Bobbin)
Start by ensuring the machine is off. Locate the bobbin winder and engage it. Place the bobbin onto the bobbin winder spindle, and guide the thread end through the tension disc. Wind the bobbin evenly, stopping when full.
Once wound, disengage the bobbin winder. Open the bobbin case cover. Insert the bobbin into the bobbin case, ensuring the thread unwinds in the correct direction – typically counter-clockwise. Draw up the thread through the slot in the bobbin case, and then gently pull it towards the needle area.
Basic Operation
Mastering the Shark Euro-Pro X involves starting your first stitch, adjusting length and width, and utilizing the reverse stitching technique for secure seams.
Starting Your First Stitch
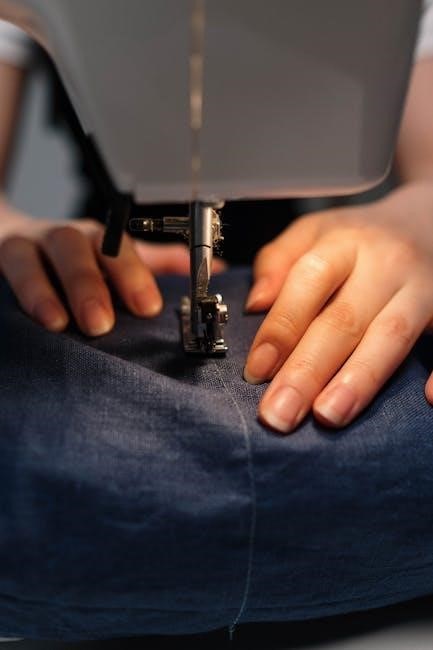
Before beginning, ensure your machine is correctly threaded – both the upper thread and bobbin are crucial for a successful stitch. Place your fabric under the presser foot, gently lowering it to secure the material;
Select your desired stitch (straight stitch is recommended for beginners) and adjust the stitch length to a medium setting. Begin by slowly pressing the foot pedal; a consistent, moderate speed is key.
Guide the fabric gently with your hands, avoiding pulling or pushing, allowing the machine to feed the material evenly. Observe the stitch formation, ensuring it’s consistent and even. If issues arise, stop immediately and re-check your threading and settings. Practice on scrap fabric first to gain confidence!
Adjusting Stitch Length and Width
The Shark Euro-Pro X sewing machine offers adjustable stitch length and width for versatile sewing. Locate the corresponding dials – typically marked with numbers or length/width indicators.
For stitch length, smaller numbers create shorter stitches, ideal for delicate fabrics, while larger numbers produce longer stitches for heavier materials. Adjust the width dial to control the zigzag stitch’s breadth; zero creates a straight stitch.
Always test your settings on scrap fabric before sewing your project. Experiment to find the optimal combination for your fabric type and desired effect. Remember, consistent stitch length and width contribute to a professional finish.
Reverse Stitching Technique
Reverse stitching, crucial for securing seams, is easily achieved on the Shark Euro-Pro X. Locate the reverse lever or button – usually positioned near the handle. Press and hold this lever while gently pressing the foot pedal to sew backwards.
Begin and end each seam with a few reverse stitches to prevent unraveling. A short backstitch (around 1/4 inch) is generally sufficient. Release the reverse lever to resume forward stitching.
Practice on scrap fabric to master the smooth transition between forward and reverse. Consistent reverse stitching ensures durable and professionally finished seams.
Maintenance & Troubleshooting
Regular cleaning and lubrication are vital for optimal performance. This section details solutions for common issues like thread breakage and skipped stitches.
Cleaning Your Sewing Machine
Maintaining a clean Shark Euro-Pro X sewing machine is crucial for longevity and performance. Always disconnect the power before cleaning. Begin by removing the needle and presser foot. Use a brush to remove lint and debris from the bobbin area, feed dogs, and surrounding components.
A small vacuum cleaner with a brush attachment can effectively remove stubborn lint. Wipe down the exterior surfaces with a soft, damp cloth. Avoid using harsh chemicals or abrasive cleaners, as they can damage the machine’s finish. Regularly cleaning prevents thread buildup, ensuring smooth operation and preventing potential malfunctions. Remember to oil the machine as per the lubrication guide after cleaning.
Lubrication Guide
Proper lubrication is essential for the smooth operation of your Shark Euro-Pro X sewing machine. Only use sewing machine oil; other lubricants can cause damage. Apply a small drop of oil to the bobbin race, following the manufacturer’s recommendations. Oil the motor access points, if accessible, and the presser bar pivot points.
Avoid over-oiling, as excess oil can attract dust and lint. After oiling, run the machine briefly to distribute the lubricant. Regular lubrication reduces friction, prevents wear and tear, and ensures consistent stitch quality. Consult your specific model’s manual for detailed lubrication diagrams and instructions.
Common Problems and Solutions
Encountering issues with your Shark Euro-Pro X? Thread breakage often stems from incorrect threading or tension. Skipped stitches can indicate a dull or incorrect needle, or improper threading. Needle breakage frequently results from forcing the fabric or using the wrong needle type.
If the machine jams, stop immediately and carefully remove the fabric. Always unplug the machine before cleaning or troubleshooting. Refer to your manual for specific error codes and solutions. Regularly cleaning lint buildup prevents many problems. If issues persist, consult online forums or seek professional repair.
Thread Breakage Issues
Frequent thread breakage with your Shark Euro-Pro X often points to threading errors – ensure the thread path is correct and free of obstructions. Incorrect tension is a primary culprit; adjust both upper and bobbin tension. Using low-quality thread or a mismatched thread weight for the fabric can also cause breaks.
Check the needle for damage or burrs, and replace it if necessary. Ensure the needle is correctly inserted and fully seated. Slow down your sewing speed, especially with delicate fabrics. Re-thread the machine completely, and test with a new spool of thread.
Skipped Stitch Troubleshooting
Skipped stitches on your Shark Euro-Pro X frequently indicate a dull or damaged needle – replace it with a new one of the correct type and size for your fabric. Incorrect needle insertion is also common; ensure it’s pushed fully into the needle clamp. Thread issues, like using old or low-quality thread, can contribute to this problem.
Verify proper threading, and adjust the upper tension. Check the bobbin is correctly wound and inserted. Slow down your sewing speed, and ensure the presser foot is fully engaged. Test on a scrap fabric to confirm the fix.
Needle Breakage Prevention
Preventing needle breakage on your Shark Euro-Pro X starts with using the correct needle type and size for your fabric weight. Avoid sewing over pins – always remove them before the needle reaches them. Never force the fabric through the machine; let the feed dogs do the work.
Ensure the needle is properly inserted and tightened in the clamp. Check for any damage to the needle before each use. Avoid sudden starts and stops, and maintain a consistent sewing speed. Regularly clean lint buildup around the needle area.
Advanced Techniques
Explore free motion sewing and utilizing diverse presser feet to unlock your Shark Euro-Pro X’s full potential, alongside model-specific troubleshooting tips.
Using Different Presser Feet
Your Shark Euro-Pro X sewing machine’s versatility expands significantly with the use of specialized presser feet. Standard feet handle everyday tasks, but exploring alternatives unlocks advanced capabilities. A zipper foot facilitates precise zipper insertion, while a buttonhole foot ensures consistently neat buttonholes.
Consider a satin stitch foot for beautiful decorative stitching, and a blind hem foot for professional-looking hems. Quilters will benefit from a walking foot, providing even fabric feed. Regularly check your manual for compatibility and proper installation. Experimenting with different feet allows you to tackle a wider range of sewing projects with confidence and achieve professional results.
Free Motion Sewing
Free motion sewing, also known as darning, allows for creative stitch control, ideal for quilting, embroidery, and decorative designs. To begin, detach the presser foot and lower the feed dogs – consult your Shark Euro-Pro X manual for specific instructions. Use a darning foot, which allows the fabric to move freely under the needle.
Gently move the fabric with your hands, guiding the stitch path while controlling the machine’s speed. Practice on scrap fabric to develop a consistent rhythm. This technique requires patience and coordination, but unlocks artistic possibilities beyond standard stitching. Experiment with different threads and stitch lengths for unique effects.
Troubleshooting Specific Models (Euro-Pro 372/373/374/377)
Euro-Pro 372/373/374/377 models often share common issues. Thread breakage can stem from incorrect threading, a dull needle, or improper tension – re-thread carefully and check the needle. Skipped stitches frequently indicate a bent or damaged needle, or incorrect needle/thread pairing; always use the recommended combination.
If the machine jams, ensure the bobbin is correctly inserted and the area is clean. Refer to your Shark Euro-Pro X manual for diagrams. These models benefit from regular cleaning to prevent lint buildup. Online forums offer model-specific advice and solutions from experienced users.
Resources and Support
Finding your Shark Euro-Pro X manual is easy! Downloadable PDF versions are readily available through the Internet Archive and other online repositories, offering immediate access to setup and maintenance guides. Numerous online forums and communities dedicated to sewing provide a platform to connect with fellow users;
These communities are invaluable for troubleshooting specific issues and sharing tips. Manualzilla is a useful resource for older models. Remember to specify your exact model number (7133, 372/373/374/377, 9101, 762XH, 385X) when seeking assistance for targeted support.
Downloading Manuals (PDF Format)
Accessing your Shark Euro-Pro X sewing machine manual in PDF format is straightforward. The Internet Archive (archive.org) hosts numerous models, including the 7133 and 372/373/374/377 series. Manualzilla also provides downloadable manuals for various Euro-Pro machines.
Simply search for your specific model number (e.g., 9101, 762XH, 385X) to locate and download the corresponding manual. These PDF files offer comprehensive instructions, safety guidelines, and troubleshooting tips, ensuring you have readily available support for your sewing projects. Ensure a stable internet connection for a smooth download process.
Online Forums and Communities
Engage with fellow Shark Euro-Pro X sewing machine users through dedicated online forums and communities. These platforms offer a valuable space to ask questions, share experiences, and find solutions to common issues. A user on a forum inquired about the Euro-Pro 9101 model in 2025, demonstrating the active community seeking support.
These online resources often contain user-generated tips, troubleshooting guides, and insights not found in the official manual. Sharing your experiences and learning from others can significantly enhance your sewing journey with your Shark machine. Search online for relevant groups to connect and collaborate.
Leave a Reply
You must be logged in to post a comment.